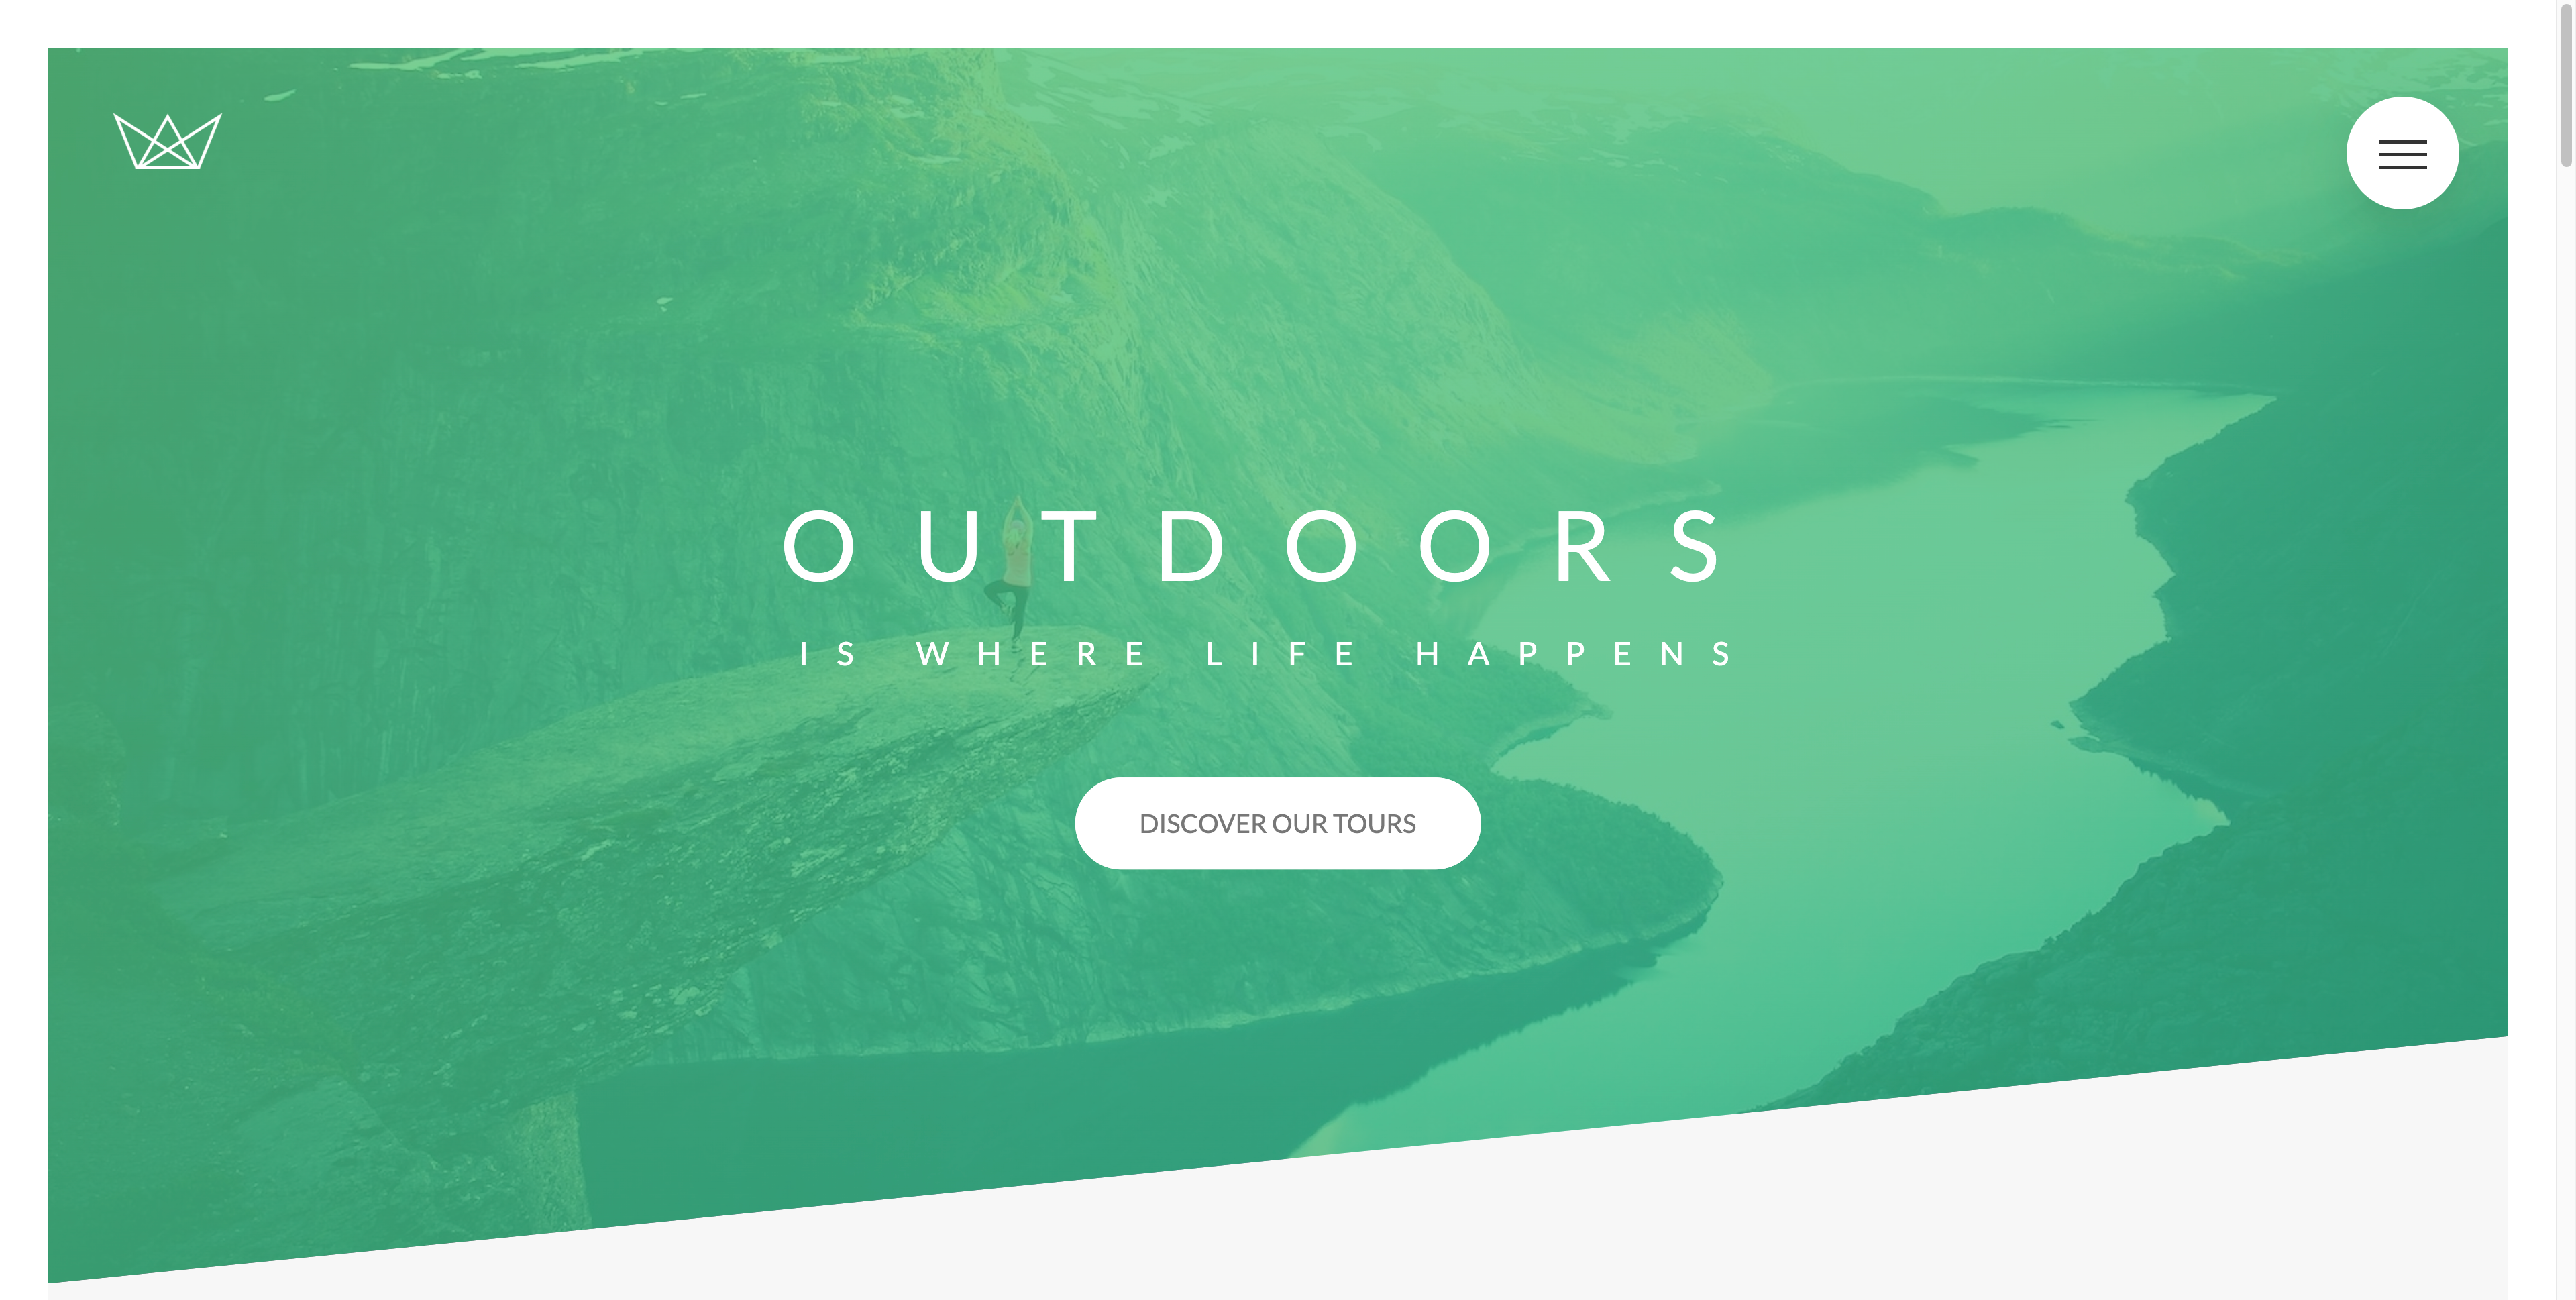
写了三天,终于把Natours这个demo写完了,收获还是不少的,作为上手的第一个Demo,学多少赚多少,哈哈。

DEMO知识总结
SASS构建结构
@import "abstracts/functions";
@import "abstracts/variables";
@import "abstracts/mixins";

@import "base/base";
@import "base/animations";
@import "base/typography"; //排版
@import "base/utilities";

@import "components/button";
@import "components/card";
@import "components/story";
@import "components/composition";
@import "components/feature-box";
@import "components/bg-video";
@import "components/form";
@import "components/popup";

@import "layout/header";
@import "layout/grid";
@import "layout/footer";
@import "layout/navigation";

@import "pages/home";注意import的顺序,还有import "..."和import url("...")的区别
BEM Class命名法则
<div class="header__logo-box">
            <img src="img/logo-white.png" alt="Logo" class="header__logo">
        </div>
        <div class="header__text-box">
            <h1 class="heading-primary">
                <div class="heading-primary--main">
                    Outdoors
                </div>
                <div class="heading-primary--sub">
                    is where life happens
                </div>
            </h1>
            <a href="#section-tours" class="btn btn--white btn--animated">Discover our tours</a>
        </div>
BEM是一种前端命名方法论,主要是针对CSS,意思是块(Block)、元素(Element)、修饰符(Modifier)的简写。这种命名方法让CSS便于统一团队开发规范和方便维护。具体格式为container__element--modifier
Float构建grid布局
.row {
  max-width: 71.25rem;
  margin: 0 auto;
  margin-bottom: 5rem;
  @include clearfix;
  @include respond(tab-port) {
    max-width: 500px;
  }
  [class^="col-"] {
    float: left;
    &:not(:last-child) {
      margin-right: $gutter;
      @include respond(tab-port) {
        margin-right: 0;
        margin-bottom: $gutter-small;
      }
    }
  }
  .col-1-of-2 {
    width: calc((100% - #{$gutter}) / 2);
  }
  .col-1-of-3 {
    width: calc((100% - #{$gutter}* 2) / 3);
  }
  .col-1-of-4 {
    width: calc((100% - #{$gutter}* 3) / 4);
  }
}
虽然现在有grid,但是float这方面还是需要了解一下,知道构建思想即可,还有容器高度塌陷和clearfix使用。通过创建after伪元素,clear左右的float即可实现
@mixin clearfix {
  &::after {
    content: "";
    display: table;
    clear: both;
  }
}
Keyframe使用
@keyframes moveInBottom {
    0% {
      opacity: 0;
      transform: translateY(3.75rem);
    }
    70% {
      transform: translateY(-0.625rem);
    }
    100% {
      opacity: 1;
      transform: translateY(0);
    }
  }
没什么难度但很好用
基础全局配置
*,
*::after,
*::before {
  margin: 0;
  padding: 0;
  box-sizing: inherit;
}
html {
  font-size: 100%;
  //big screen - small screen
  @include respond(big-desktop) {
    font-size: 120%;
  }
  @include respond(tab-land) {
    font-size: 90%;
  }
  @include respond(tab-port) {
    font-size: 50%;
  }
  @include respond(phone) {
    font-size: 50%;
  }
}
body {
  font-family: "Lato", sans-serif;
  font-weight: 400;
  font-size: 1rem;
  line-height: 1.7;
  color: $color-grey-dark;
  padding: 1.875rem;
  box-sizing: border-box;
  @include respond(tab-port) {
    padding: 0;
  }
}
//选中文字的样式
::selection {
  background-color: $color-primary;
  color: $color-white;
}
工具类的使用
.u-center-text {
  text-align: center !important;
}
.u-margin-bottom-big {
  margin-bottom: 5rem !important;
}
.u-margin-bottom-medium {
  margin-bottom: 2.5rem !important;
}
.u-margin-bottom-small {
  margin-bottom: 1rem !important;
}
.u-margin-top-big {
  margin-top: 5rem !important;
}
.u-margin-top-huge {
  margin-top: 6.25rem !important;
}
兄弟元素选择器
&__input:placeholder-shown + &__label {
    opacity: 0;
    visibility: hidden;
    transform: translateY(-2.5rem);
  }
//+ 是input后面紧跟着的元素 ~ 是兄弟元素(如果有误后面详细再改)
<div class="form__group">
<input type="text" id="name" class="form__input" placeholder="Full Name" required>
<label for="name" class="form__label">Full Name</label>
</div>关于背景图的操作
//设置图片大小为100%
background-size: 100%;

//设置属性为封面,始终尽量显示图片的上方区域
background-size: cover;
  background-position: top;
absCenter
@mixin absCenter {
  position: absolute;
  top: 50%;
  left: 50%;
  transform: translate(-50%, -50%);
}
媒体查询
/*
0-37.5rem     Phone
600-56.25rem   Tablet portrait
900-75rem  Tablet landscape
[1200-112.5rem] normarl styles apply
112.5rem+     Big desktop

$breakpoint argument choices
- phone
- tab-port
- tab-land
- big-desktop

ORDER: Base + typography > general layout > page layout > components
*/
@mixin respond($breakpoint) {
  @if $breakpoint == phone {
    @media only screen and (max-width: 37.5em) {
      @content;
    }
  }
  @if $breakpoint == tab-port {
    @media only screen and (max-width: 56.25em) {
      @content;
    }
  }
  @if $breakpoint == tab-land {
    @media only screen and (max-width: 75em) {
      @content;
    }
  }
  @if $breakpoint == big-desktop {
    @media only screen and (min-width: 112.5em) {
      @content;
    }
  }
}
一般的,仅供参考
设置渐变式文字或者icon
//添加渐变底色
background-image: linear-gradient(
      to right,
      $color-primary-light,
      $color-primary-dark
    );
//设置clip样式为文字,icon也设置为文字
    -webkit-background-clip: text;
    background-clip: text;
//设置文字或者icon颜色为透明即可
    color: transparent;
元素的直子元素选择
& > * {
    //transform: skewY(7deg);
//....
  }
linear-gradient妙用
linear-gradient(
      105deg,
      rgba($color-white, 0.9) 0%,
      rgba($color-white, 0.9) 50%,
      transparent 50%
    )
轮廓属性
-webkit-shape-outside: circle(50% at 50% 50%);
    shape-outside: circle(50% at 50% 50%);
圆形图右面挨着一段文字,段落左侧排列出圆形轮廓
filter属性
filter: blur(3px) brightness(60%);应该是很好用很强大的属性,后期等我慢慢摸索
元素背部不可见
backface-visibility: hidden;还可以用这个修复一些动画上的细小BUG
scss中not选择器
.paragraph{
    font-size: 1rem;
    &:not(:last-child){
        margin-bottom: 1.875rem;
    }
}
很简单也很好理解,贴在这里怕我以后忘了
隐藏元素两个方法
- 直接设置
display:hidden,元素和所在空间直接消失 - 设置
opacity:0 ; width: 0,间接隐藏,便于显示切换时的动画过渡
项目地址
Natours